For New Bedford, Massachusetts homeowners looking to enhance their outdoor spaces, installing a fence offers both privacy and security. This comprehensive guide navigates the DIY fence installation process, from selecting suitable materials for your yard’s unique characteristics to ensuring a robust foundation. By following our step-by-step instructions, you’ll master assembly, avoid common pitfalls, and add valuable functionality with gates and accessories. Learn how to maintain your new fence for years to come.
- Understanding Your Fence Options for New Bedford Yards
- Measuring and Planning for the Perfect Fit
- Preparing the Ground: A Solid Foundation
- Assembly and Installation: Step-by-Step Guide
- Adding Gates and Accessories for Functionality
- Final Touches and Maintenance Tips
Understanding Your Fence Options for New Bedford Yards
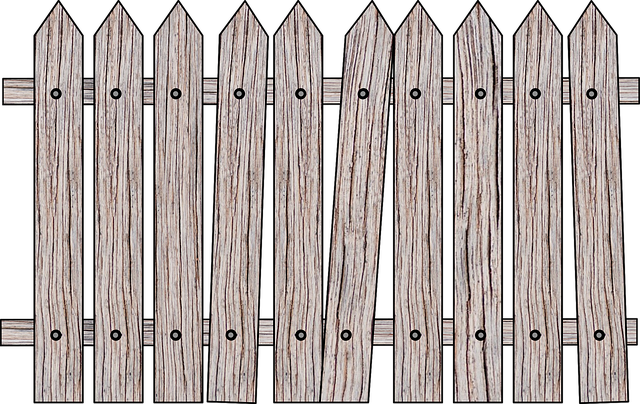
When it comes to fencing your New Bedford, Massachusetts yard, there are numerous options to consider, each offering unique benefits and styles. Wood remains a popular choice for its natural beauty and versatility; from traditional picket fences to more contemporary horizontal slat designs, wood can enhance any outdoor space. Alternatively, vinyl fencing is low-maintenance and durable, providing a variety of colors and patterns to suit different tastes. Chain link fences are ideal for security and privacy, often chosen for backyards or commercial properties.
Before installation, homeowners should assess their yard’s layout, desired level of privacy, budget, and aesthetic preferences. Consulting with local professionals can offer valuable insights into the best fence types for specific needs. Understanding these options will ensure a successful DIY project that not only complements your home but also provides the desired functionality for years to come.
Measuring and Planning for the Perfect Fit
When planning your DIY fence installation in New Bedford, measuring accurately is key to achieving a perfect fit. Take time to map out the perimeter of the area where you want the fence and identify any potential obstacles like trees or existing structures. This step ensures that your chosen fence design not only matches your aesthetic preferences but also fits seamlessly into your yard’s layout.
Use measuring tools, such as tape measures or laser distance meters, to determine the exact dimensions, considering both the length and height requirements. Plan for extra materials to account for cuts needed during installation, ensuring you have enough fencing posts, rails, and panels to complete the job without overspending on unnecessary supplies.
Preparing the Ground: A Solid Foundation
Preparing the ground is a crucial step in DIY fence installation. In New Bedford, Massachusetts, where various weather conditions can be experienced, ensuring a solid foundation for your fence is essential. Start by clearing the area of any debris, plants, or rocks. Mark the perimeter of your desired fence line to maintain consistency and accuracy during construction.
Next, test the soil’s moisture level; ideal digging conditions are when the soil is neither too wet nor too dry. Use a hand trowel or small shovel to loosen compacted soil along the marked fence line, creating a flat, even surface. This preparation ensures that your fence posts will be securely anchored, providing stability and longevity against potential wind or weather damage.
Assembly and Installation: Step-by-Step Guide
When it comes to DIY fence installation, assembly and installation are crucial steps that require careful planning and execution. Start by gathering all necessary materials, including posts, rails, panels, brackets, concrete, tools, and safety gear. Ensure your workspace is clear and level before beginning. Follow these step-by-step instructions:
1. Mark the fence line using string and stakes to ensure a straight and even path for your fence. Dig holes for the fence posts at predetermined intervals, typically every 6 to 8 feet. The depth of the holes should be about one-third the length of the posts.
2. Set the posts firmly in place, ensuring they are level and aligned. Use concrete to secure them, following the manufacturer’s instructions for mixing and pouring. Allow the concrete to set completely, usually 24-48 hours.
3. Attach the rails to the posts using brackets or nails, depending on your fence design. Ensure the rails run straight and level across the top of the posts.
4. Secure the panels by attaching them to both the rails and posts using screws or nails. Make sure the panels are flush with each other for a seamless look.
Adding Gates and Accessories for Functionality
Adding gates and accessories is an essential step to enhance the functionality and security of your new fence. Gates provide easy access in and out, allowing for convenient entry and exit, while also controlling the flow of traffic. Consider installing a sturdy gate that matches the style of your fence, ensuring it swings in a direction that allows for clear passage without obstruction.
Accessories such as locks, latches, and hinges can further strengthen security measures. Choose weatherproof hardware designed to withstand harsh Massachusetts climates. Additionally, you might want to explore options like automated gates or keyless entry systems for added convenience and safety, especially if your property has a complex layout or requires controlled access.
Final Touches and Maintenance Tips
After completing the fence installation, it’s time to add the final touches. This includes ensuring all posts are securely anchored, gates swing smoothly, and any hardware is properly fastened. Take a step back to assess the overall appearance of your new fence, making adjustments as needed to maintain symmetry and an even finish. Regular maintenance will keep your fence looking its best. Inspect it periodically for loose boards, damaged posts, or worn-out hardware. Repaint or restain as required, especially in New Bedford’s changing weather conditions, to protect the wood and preserve its aesthetic appeal. Keep an eye out for any signs of infestation or rot, addressing these issues promptly to prevent further damage.